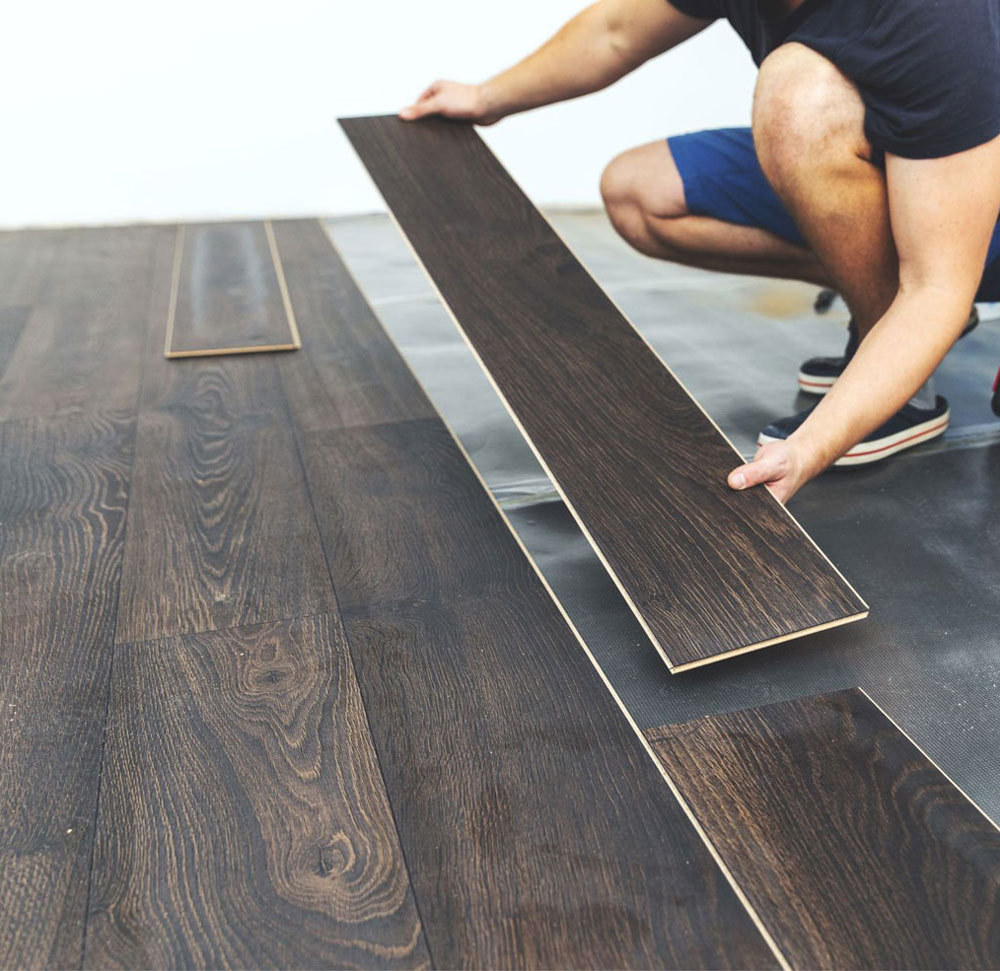
Luxury Vinyl Tile - Installation
Know what to expect and do before installation day
LUXURY VINYTL TILE (LVT)
Preparing for Installation
Depending on the manufacturer these guidelines may vary:
The floor covering, adhesive, and room temperature must be kept with in a temperature range of 65°F to 100°F for at least 48 hours before, and 48 hours after installation. In certain cases where epoxy adhesive is used, the temperature should not exceed 85°F.
The flooring material should be allowed to acclimate to the temperature of the area it will be installed for at least 48 hours in advance.
Start with a clean jobsite, a prepared subfloor and remove any items that may damage a finished installation. Substrates must be dry, clean, smooth, and free from paint, varnish, wax, oils, solvents, adhesive from former flooring and other foreign matter.
A properly prepared subfloor is important because the wrong type can telegraph through the new floor. This will not only be unattractive, but it will cause uneven wearing. Underlayment panels are intended to provide a smooth working surface, but are not designed to correct or properly cover structural deficiencies.
The manufacturer’s recommended adhesive should always be used in order to maintain the manufacturers warranty.
When installing, be careful and precise measurements must be taken during tile layout. Lay all tiles in the same direction, all directional arrows pointing in the same direction. With plank layout it is also important to balance the layout of the plank format. Proper planning and layout will revent narrow plank widths at wall junctures. Accurately easure the room todetermine the center line, adjust this stablished line to accommodate a balanced lay out and then transpose this line to a comfortable width away from the starting wall (approximately 2’ to 3’ wide). Apply the adhesive in this area and begin installing planks.
When determining the proper layout for mixing tile and planks for custom installations it is important to consider overall pattern and concept before getting started. The pattern should be carefully calculated and laid out for a successful installation.
When the installation is complete, most floors must be rolled with a minimum 100 pound three-section floor roller immediately after installation. Roll the flooring in both directions to firmly seat the tile into the adhesive.
After Installation
Depending on the manufacturer these guidelines may vary:
- After installation, furniture and foot traffic should not be on the floor for at least 24 hours. This allows the adhesive to dry completely.
- After installation, the floors should also not be washed for 48 hours.
- The adhesive residue on the floors after installation can be removed with mineral spirits.
- Floor covering subjected to excessive heat and light exposure is subject to thermal degradation. Use appropriate precautions to minimize potential affects on the floor covering.
- Oil or petroleum based products can result in surface staining. Do not track asphalt driveway sealer or automobile oil drips onto the vinyl floor covering.
- During the life of the floor, the temperature should never drop below 55°F
